How I use Vlads Test Target for camera scanning
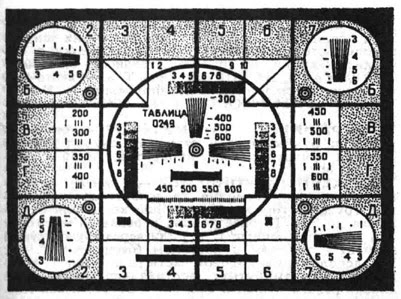
So here is my scan rig tuning workflow if anyone cares: Aligning camera and film holder with the Vlads test target as generator of the test image. The picture is to grab you attention. I used to see it often on my TV when I was 7 years old and was waiting to watch my favorite animated movies which would open the broadcast at 4 o'clock Moscow time .
Prepare your scanning rig - whether it's a copy stand or camera bellows with vintage film holder from Nikon, Canon, Minolta, etc. I will assume that camera and lens are able to slide forth and back in relation to a film holder. Ideally you should use micro-focusing rail. Having Arca-swiss clamp sliding on the rail is possible but you will discover that when you start tightening the clamp once focus is achieved, the image will jump by 1-2 mm - pretty significant and irritating shift given overall frame size.
Keep the film gate empty. Adjust lights, mask out stray light, optionally tether your camera to the computer and connect your camera HDMI output to your big TV.
Set white balance and exposure for empty gate. Make sure your picture of empty gate imported in Photoshop or similar application reads RGB 254,254,254 across the frame and clipping does not occur.
Leave camera in the manual mode so no settings will change by camera itself. Switch off your autofocus if any.
Set your lens to the desired magnification factor - move camera and rotate lens until the image of the frame fills the viewfinder. Once required scale is achieved leave the lens alone. From now on you may need to change your f-stop but don't try to use lens to focus - the scale factor will immediately change.
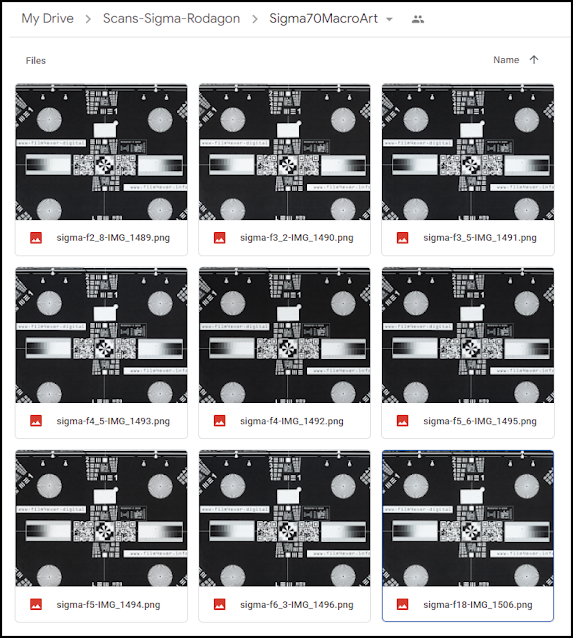
Now comes the critical part. Insert 'Vlads test target' in the holder and center the frame in the holder by any means available.
Review the image in camera in the live mode - preferably on your TV. Using micro focusing rail start focus on the pattern. Siemens stars are extremely sensitive elements of the design. If focus yet to be achieved , the internal part of Siemens star looks like a gray disk. Once camera gets close to the focused state the size of the disk becomes smaller and smaller and more and more individual strokes will became discernable. Ideally your camera HDMI output is hooked up to you big screen TV. On your TV you will be able to see all Siemens Stars at once with the decent resolution. Note that moving camera make all Siemens star to become more or less gray - ideally all of them should reach the smallest gray disk state simultaneously. If that happens - bingo! - you are done and all the image is in focus. Set the desired f-stop and fire the shutter. Review the picture on the screen in your photo processing software and evaluate Siemens stars and USAF patterns - they all should look very much alike. If your camera has focus peaking - all the better - that will help tremendously as indication across the frame will be much more pronounced.
Unfortunately, it's almost never happens - alignment from the first sight - you are bound to spend 15 minutes tweaking the holder position, checking your camera alignment with the rail axis, tightening all the clamps and so on. But with all of that you have pattern which will be giving you cues on what is going on, what direction the holder or camera is misaligned. It can be just one corner and you know by moving camera on the rail forth and back which corner needs correction. It's all pretty easy until you reach the point when all four corners and the center are out of focus - and that is the clear signal that you need a break and a sip of fresh air or strong coffee.
That's how I do it , and I just bought the stick for HDMI to USB video capture to make a simple video.
Use https://www.etsy.com/shop/SilverKnits to order your 35 mm and 120 type targets.


Comments
Post a Comment