Use Vlads Test Target to Fine Tune Epson V850 Scanner
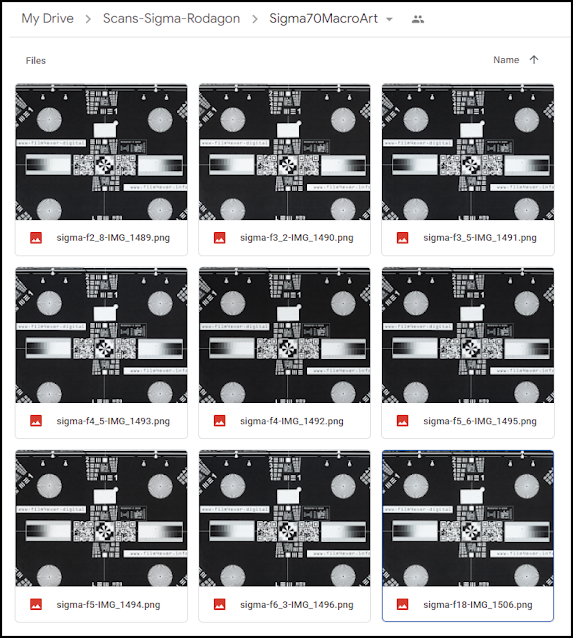
I have a customer who is going to use @VladsTestTarget to calibrate the height of Epson V850 flatbed scanner's film holders. Hope that will be helpful to other folks too. Here is the question and below is my answer.
Q. "I am ordering this target to calibrate the height of my Epson V850 flatbed scanner film holders. Currently I am not satisfied with my film holder height adjustment attempts. I seems to unable to reach the peak of sharpness. My type 120 slides are all tack sharp on the light table with 6x loupe, but not so in the scanned output. Once I load test target in my scanner, I will evaluate a series of scans at different settings with my naked eye on my computer screen. One thing I am afraid of now is that I may not notice differences among 10~20(?) scans. I can narrow down the short list, but I am afraid I can hardly pinpoint which one or two scans are the absolute best in terms of sharpness. How can test targets help?"
A. Dear fellow digitizer! Please review below the two different approaches.
USAF Approach
Using your scanner, make number of scans without Auto features and without any sharpening turned on. For each target's scan taken at the different film holder height, mark/name the output file - clearly indicating the current folder height. Set certain magnification on your computer display -say 400% - and review centers and all four corners of the each image and find the smallest element for which you can discern both horizontal and vertical bars in the USAF 1951 patterns. See SilverFast document below for detailed explanation of procedure. The scanner or camera is said to “resolve” a chart element, if the horizontal and the vertical bars can still be recognized as three distinct bars and they don’t blur into one another.
Write the Group and Element numbers down on a piece of paper along with the file name. For each image you will have six values: file name, and Group/Element number for the center and four corners . If you want even more data point , you can add top, bottom and sides. The absolute numbers mean little for this exercise , you only need to know that if the smallest resolvable element is Group 0 Element 3, it's a better resolution than Group 0 Element 2.
At the end you will have the table with six (or ten ) columns and few rows (for the number of heights tested). Looking at this table alone you will be able to objectively call a winning folder height. Center and corner will give you different readings - that's normal - you only care about relative value in the same spot. You may reload the target in the opposite direction rotating it 180 degrees and doing exercise again. That should give you same or very similar reading. Otherwise it may mean that holder is not absolutely parallel with sensor along sensor's line.
Holistic Approach
You perform the scan of exactly the same area (with exactly the same scanner settings - no Auto settings!!! ) of the target at different holder heights. Save scans in jpg format. Compare the sizes of the files, the largest file will be the sharpest.
Explanation: The scanner should be configured for the maximum contrast, so the minute details in pure whites and pure blacks are omitted. Then, the JPEG compression algorithm will do the thing for you - the image details which will mostly contribute to file size will be edges and the maximum number of edges should serve as an indicator of the high resolution and sharpness.
I know this does not sound like much fun, but the whole exercise is about getting as much image details from the film original as possible. So the ultimate reward for your hard work will be the ultimate scan quality.
Extra reading:
https://www.silverfast.com/PDF/resolution-target/Resolution-Target_long_en.pdf
Extra video:


Comments
Post a Comment